Client invoices guide for payPod which covers creating, viewing, searching editing and deleting.
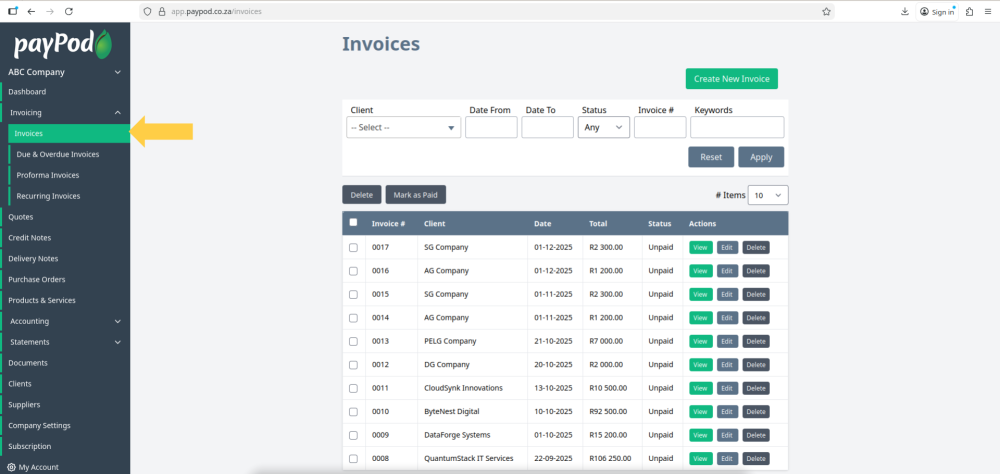
Step 1: Navigate to Invoices on the Sidebar
Click on the invoices tab under the invoicing dropdown.
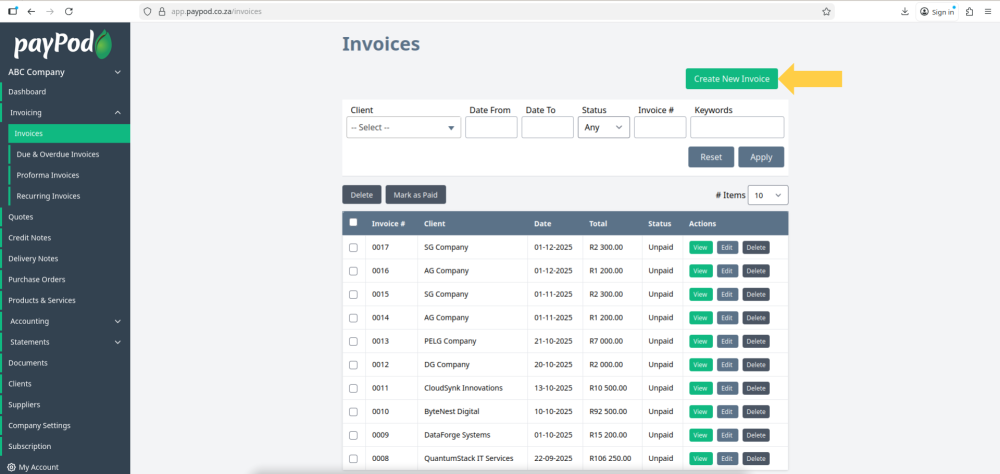
Step 2: Creating an Invoice
To create a new invoice click on the create new invoice button in the top right hand corner of the screen
The invoice number is automatically allocated by the system. This is invoice number 13 as 12 have previously been created on this demo.
You can customize this value if you choose, and the next future invoice will increment the latest number chosen.
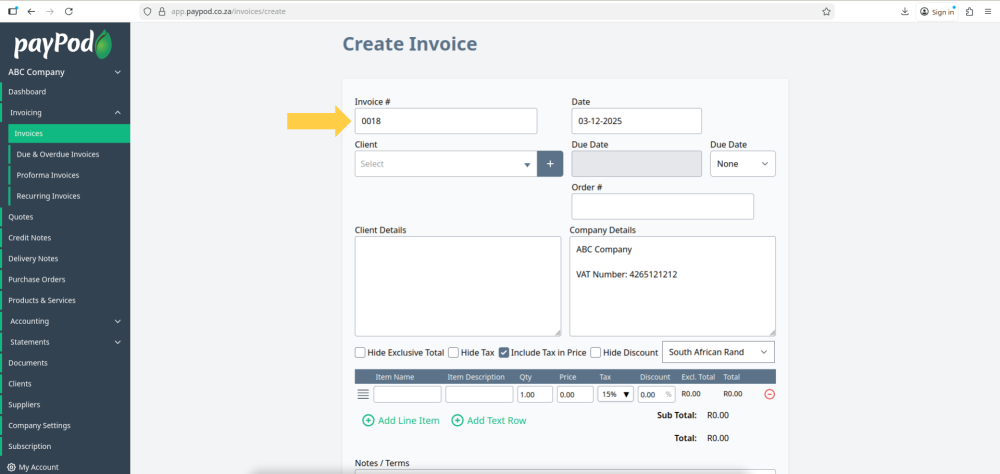
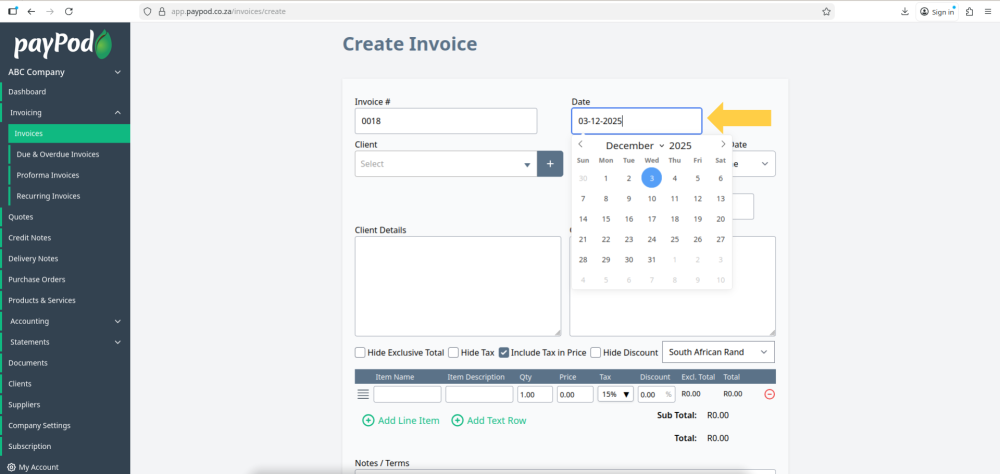
Step 3: Filling in the Invoice Info
Select a date which can be today, a past date, or future date.
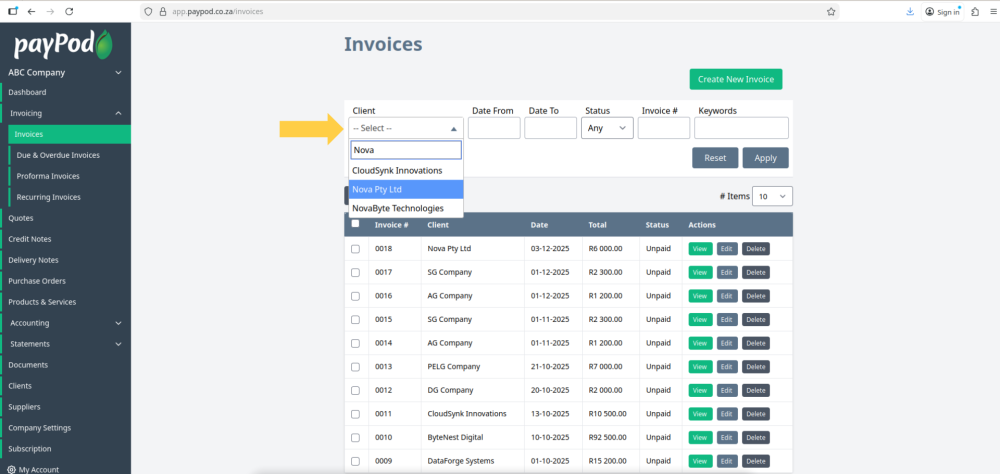
Select an existing client using the client dropdown.
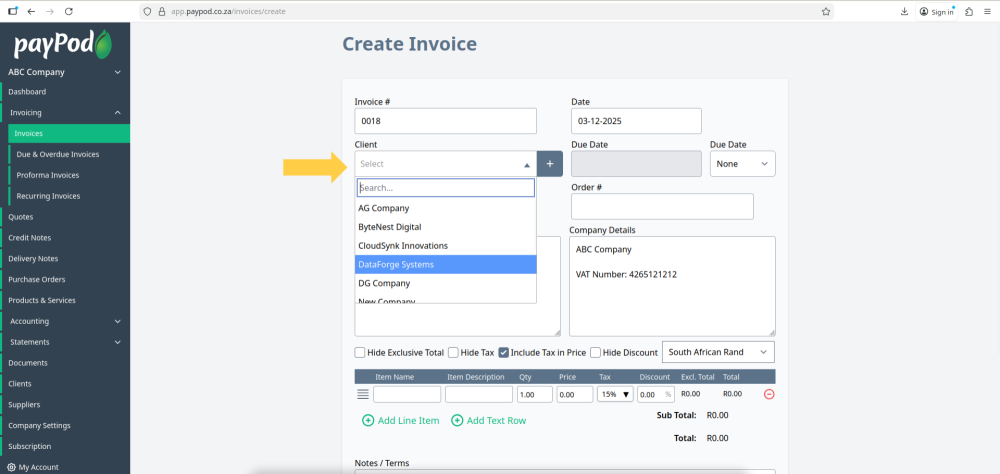
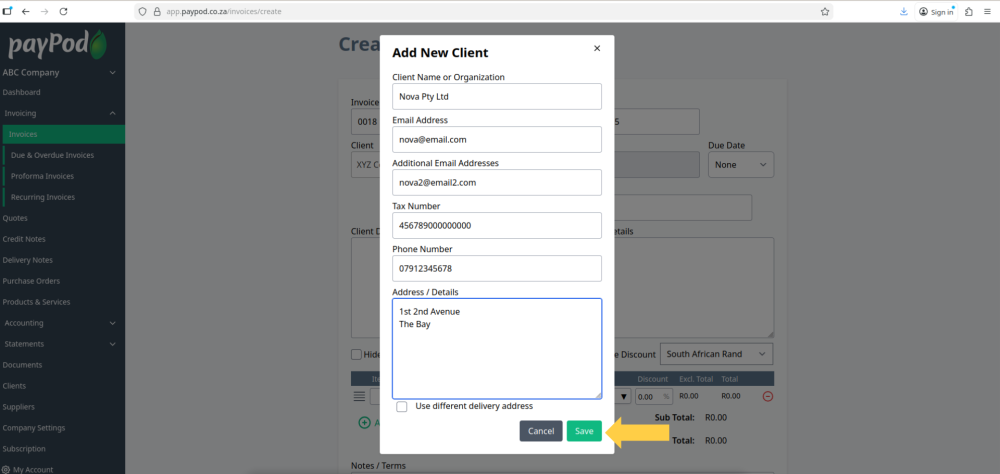
To add a new client click on the plus button. (If the client doesn't already exist.)
Enter the clients details then click save to add the client.
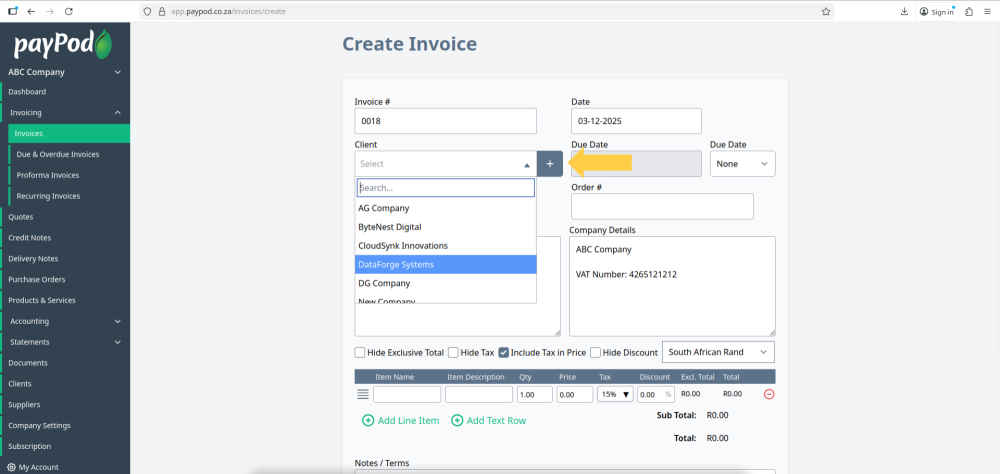
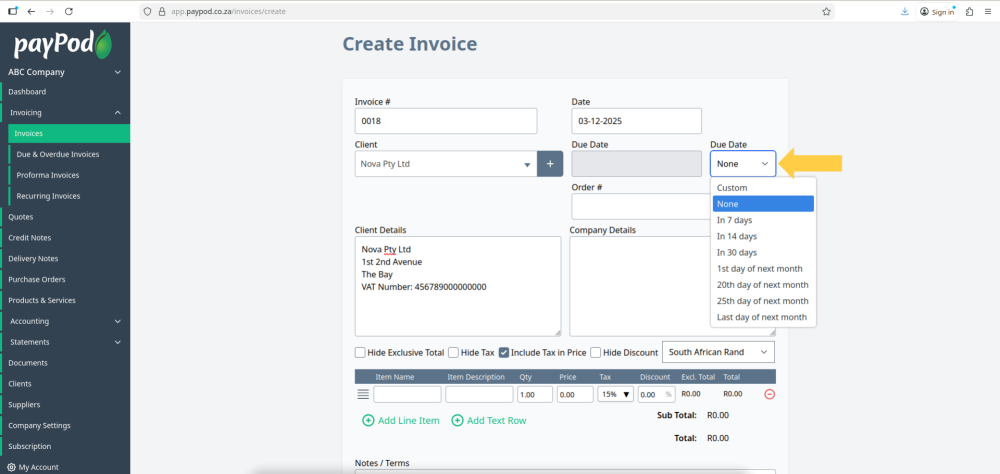
Select a due date for the invoice (optional).
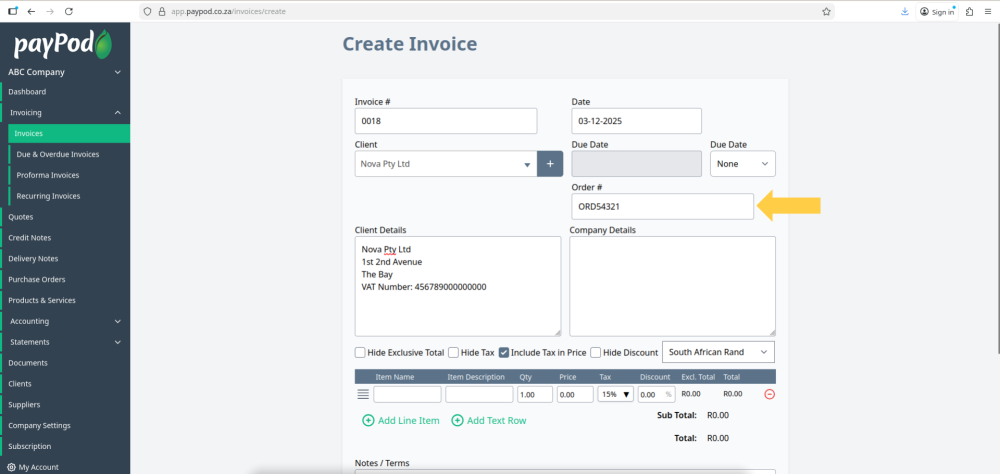
Enter an order number that corresponds to the invoice (optional).
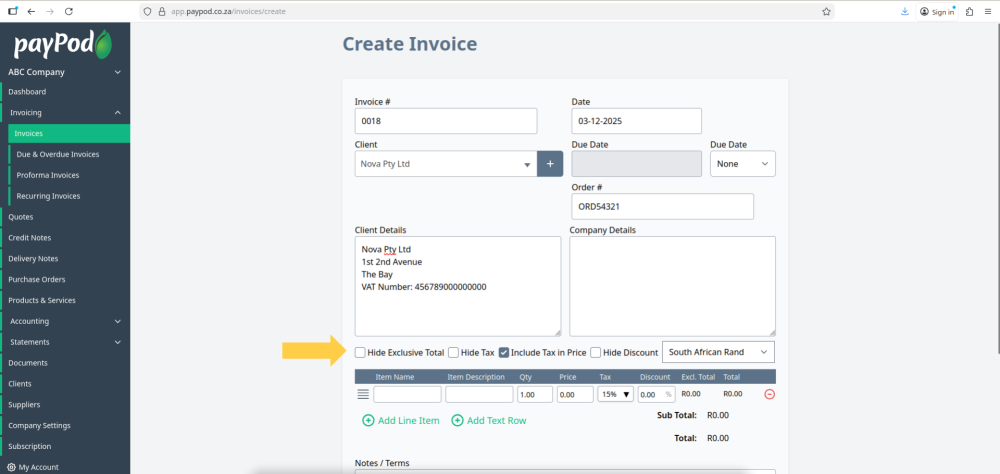
You can hide the tax exclusive amount, hide the tax amounts, include tax in any line item prices, and hide discounts on the invoice by toggling these checkboxes.
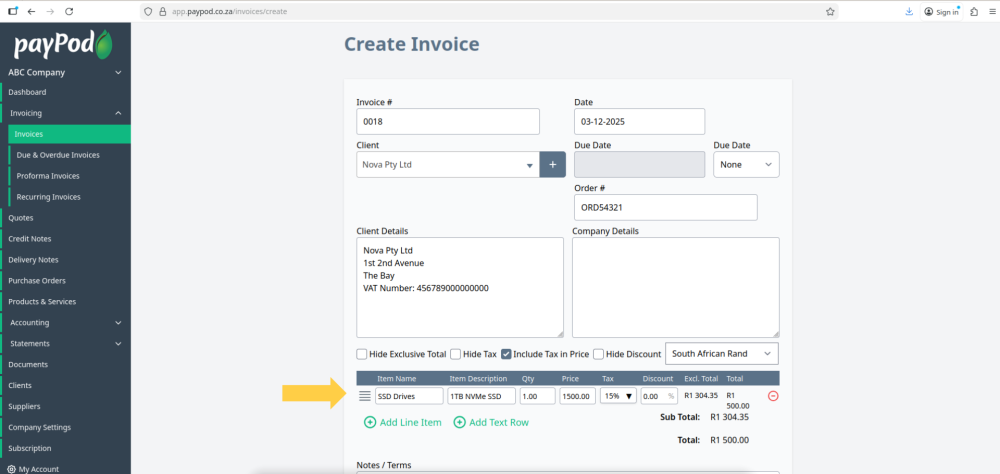
Step 4: Adding Invoice Items
You can call a saved item by typing the first few letters and clicking on it when it appears in the dropdown.
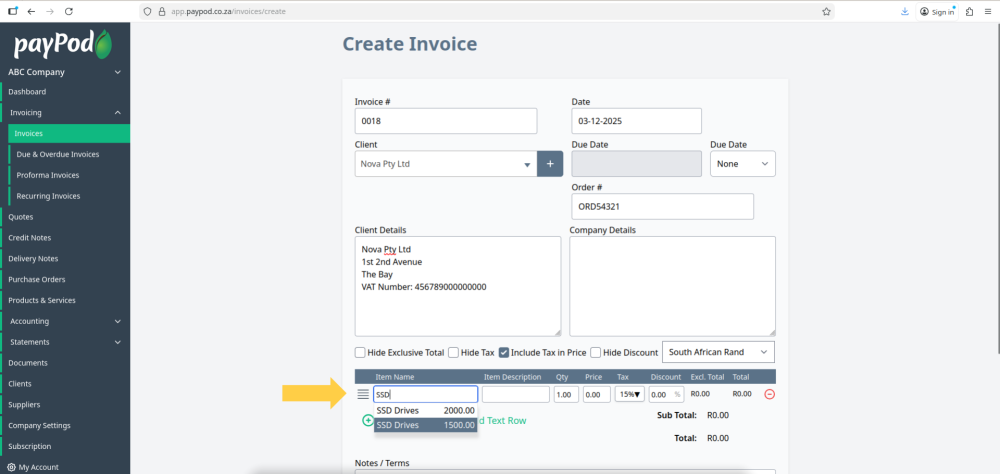
You can edit the called items name, description, quantity, price, tax and discount.
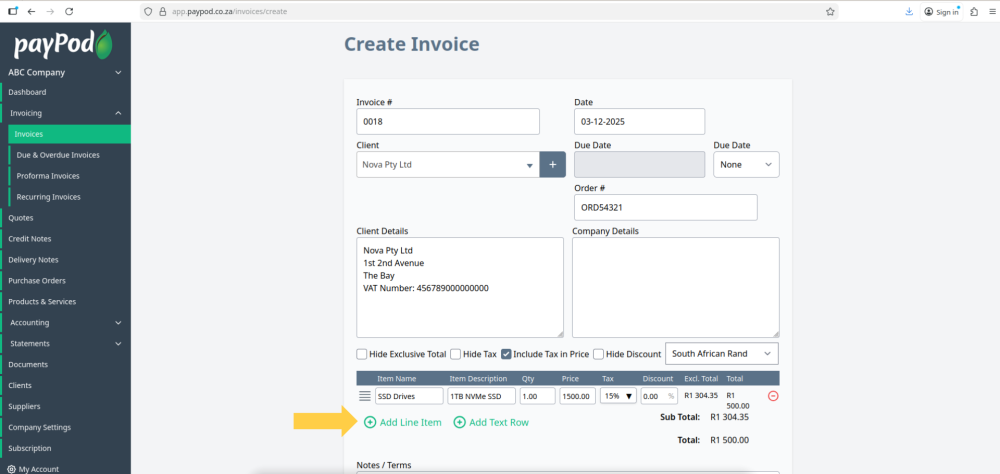
To add another item click the add line item button.
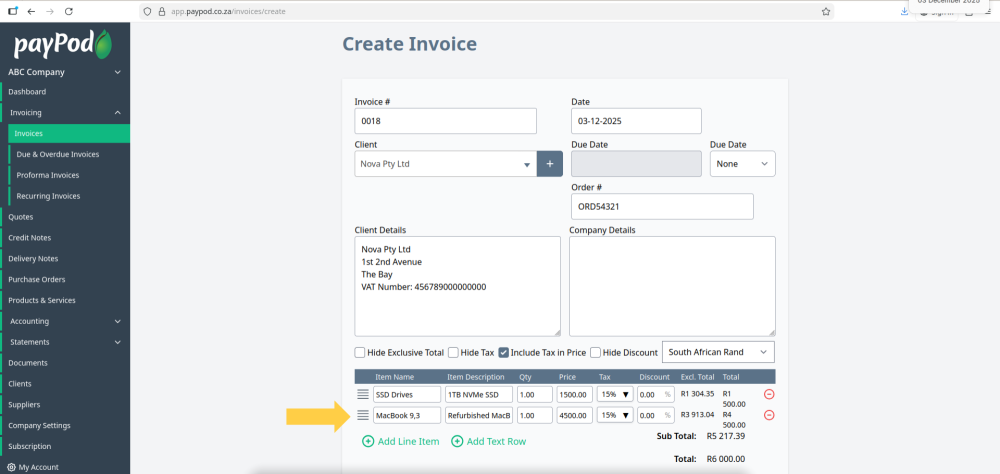
Add an item that hasn’t been added before by filling in the item name, description, quantity, price, tax and discount.
After you save this invoice the item will saved in the system and you will be able to call it as you did with the first line.
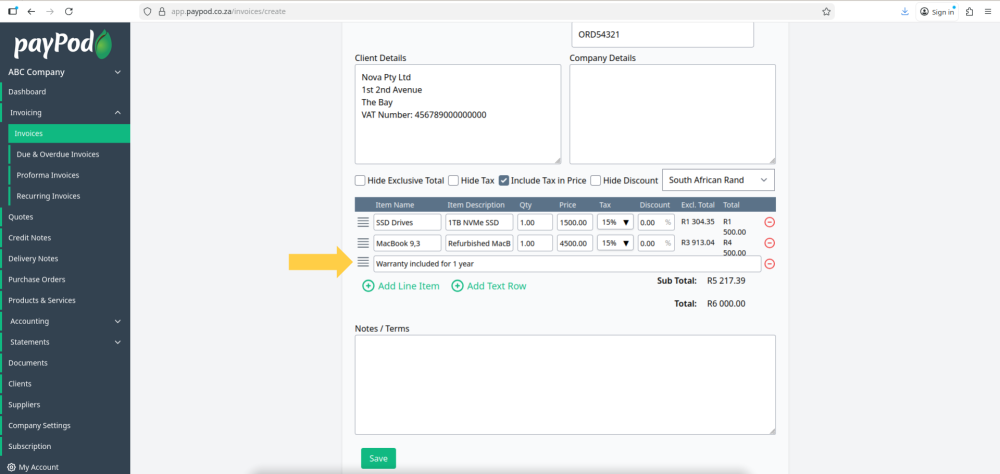
To add a line of text without any label, quantity or price fields, click on the add text row button.
This is useful for more lengthy descriptions or additional details that don't fit on a single row.
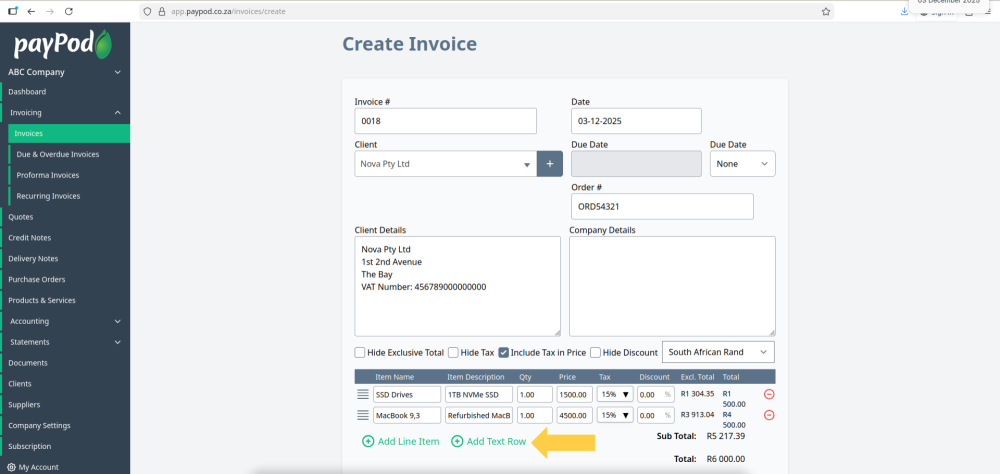
Fill in the text row.
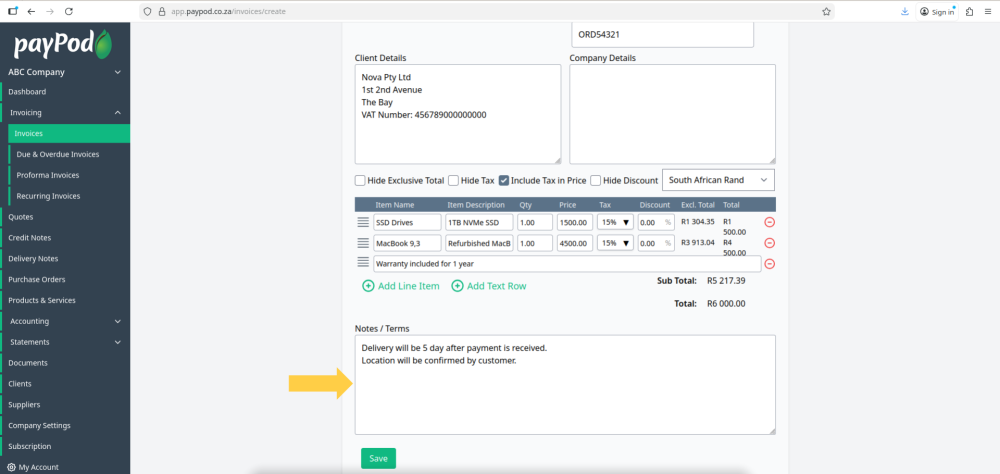
Step 5: Filling in Notes / Terms and Saving Invoice
Notes and terms can be used for any general notes related to the invoice.
This can include anything that hasn't been entered yet, such as payment instructions/details or general terms.
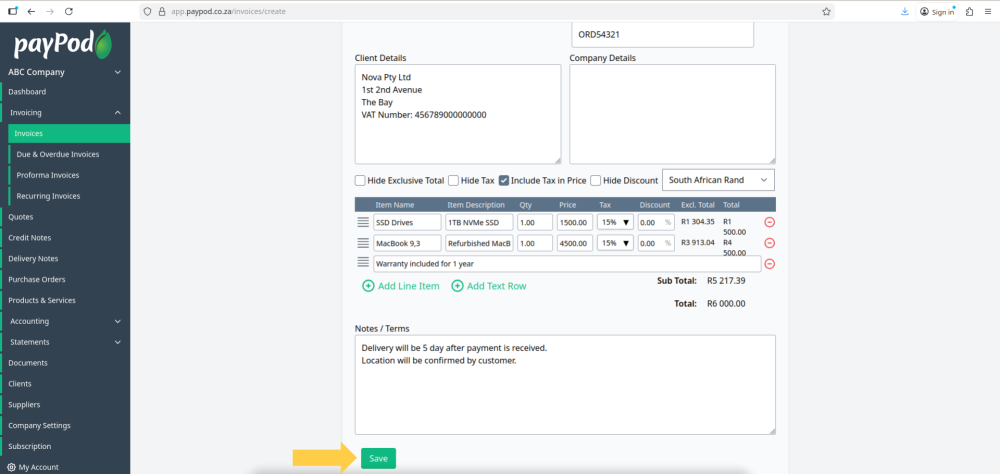
When you are done filling in the invoice fields click save to create the invoice.
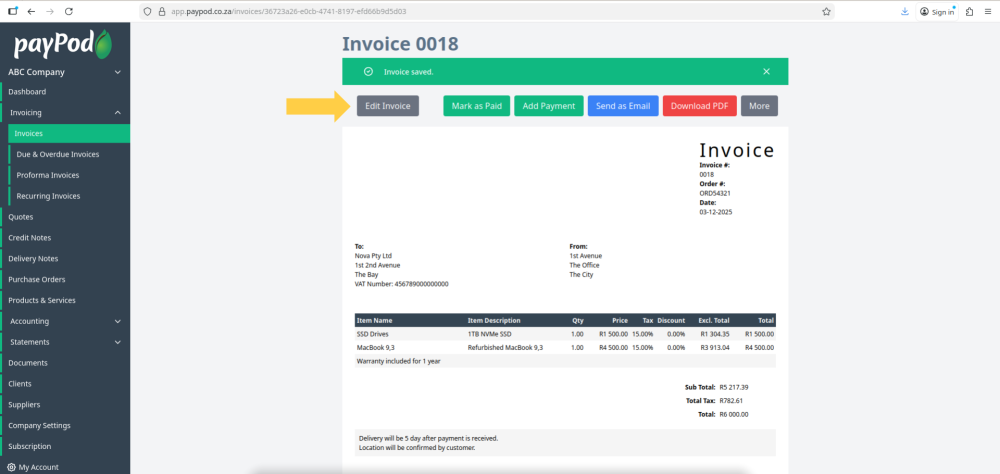
Step 6: Email or Print Invoice
Once the invoice is created you can edit the invoice, record payments, send the invoice as an email, download the invoice as a pdf and print the invoice.
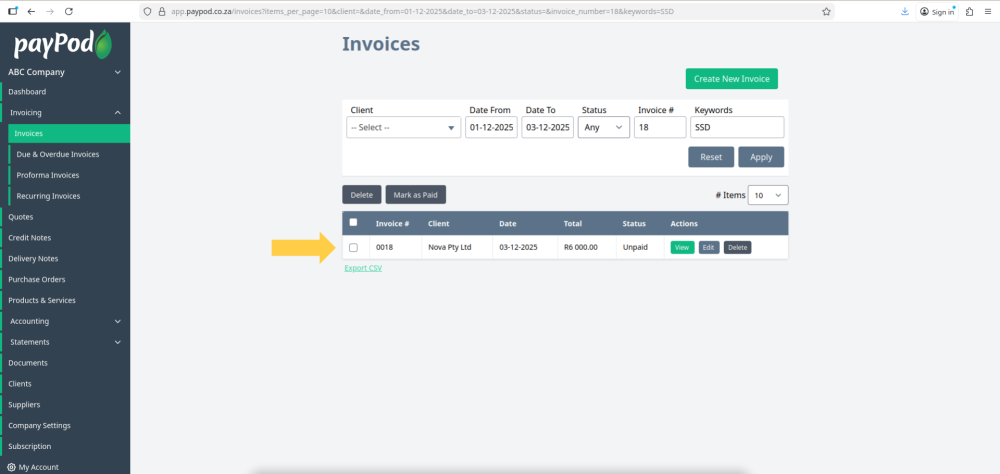
Step 7: Search and Edit Existing Invoices
Not all of the search criteria fields are required to run a search. For example, you can run a search only using one of the fields, such as filtering only the date range.
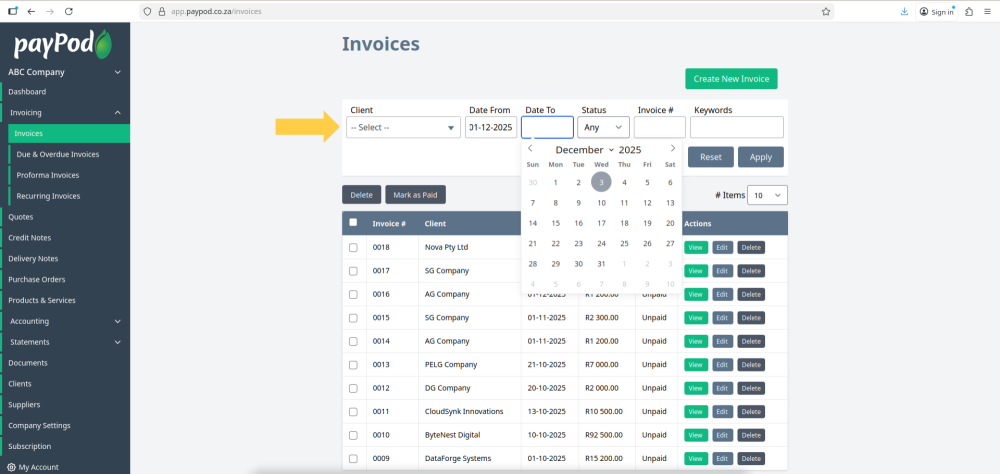
Select a date range to search in by selecting a from and to date.
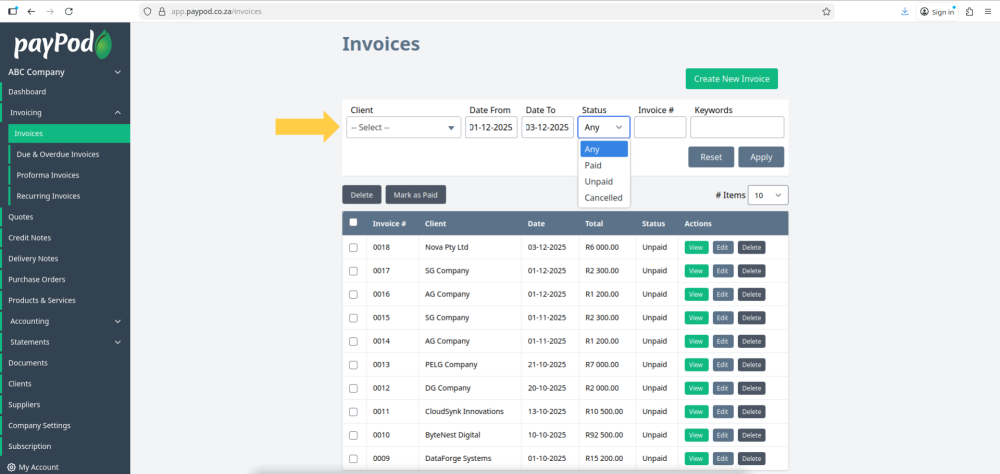
Select an invoice status.
Enter an invoice number and keywords to narrow the search if you are looking for a specific invoice.
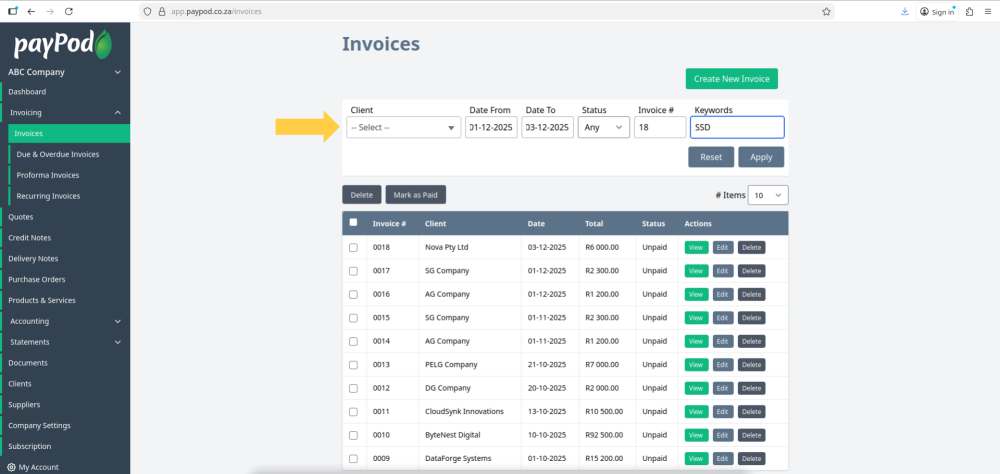
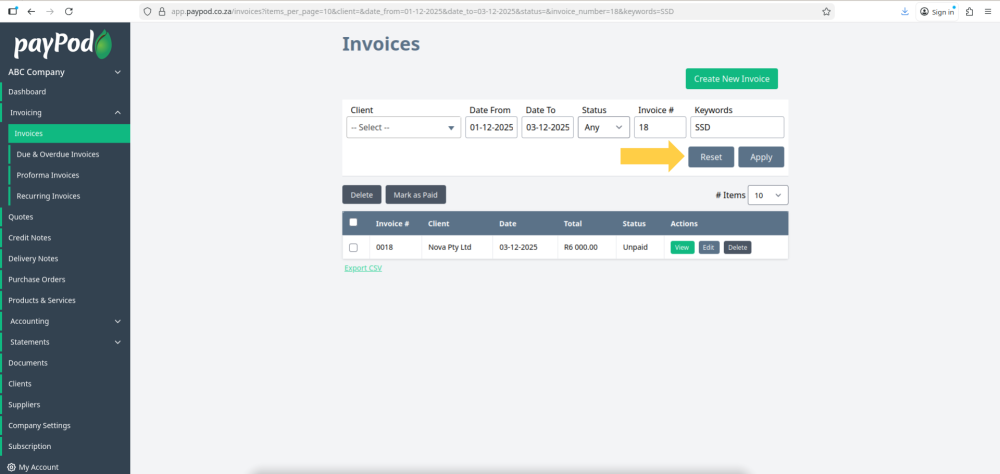
Click the apply button to run the search after filling in the fields.

The search results will appear below in the invoices table.
To clear the search and view all invoices again in the table click the reset button.
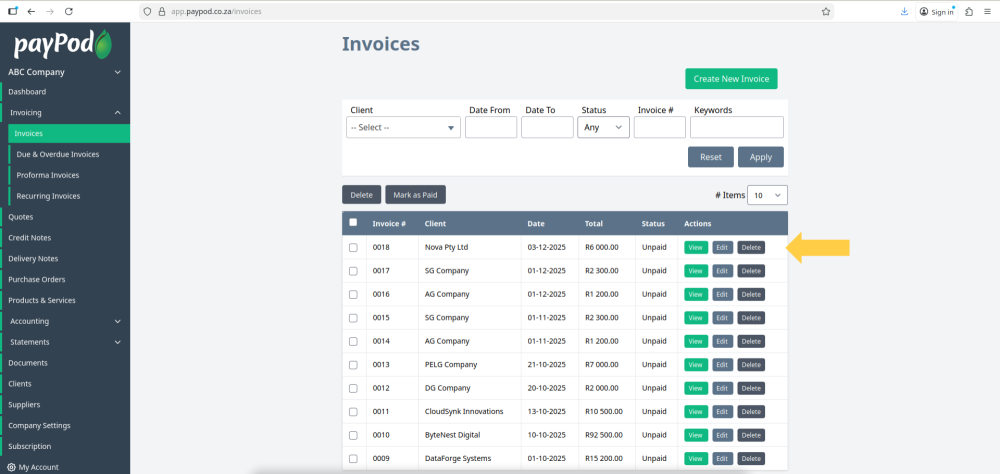
You can view, edit or delete an invoice using the action buttons.